
14 Craft Ideas for Teen Girls Birthday Parties

# 14 Craft Ideas for Teen Girls Birthday Parties
Teen birthday parties live in that tricky space between kid crafts that feel too young and complicated DIY projects that eat up your whole weekend. You need activities that look good, keep a group busy, and don’t make anyone feel like they’re back in elementary school.
These craft ideas for teen girls birthday parties balance effort with payoff. Most use supplies you can grab in one store run, and several double as decorations or favors. A few take longer but give the party a centerpiece worth planning around.
Start with the ones that match your timeline and space, then add from there.
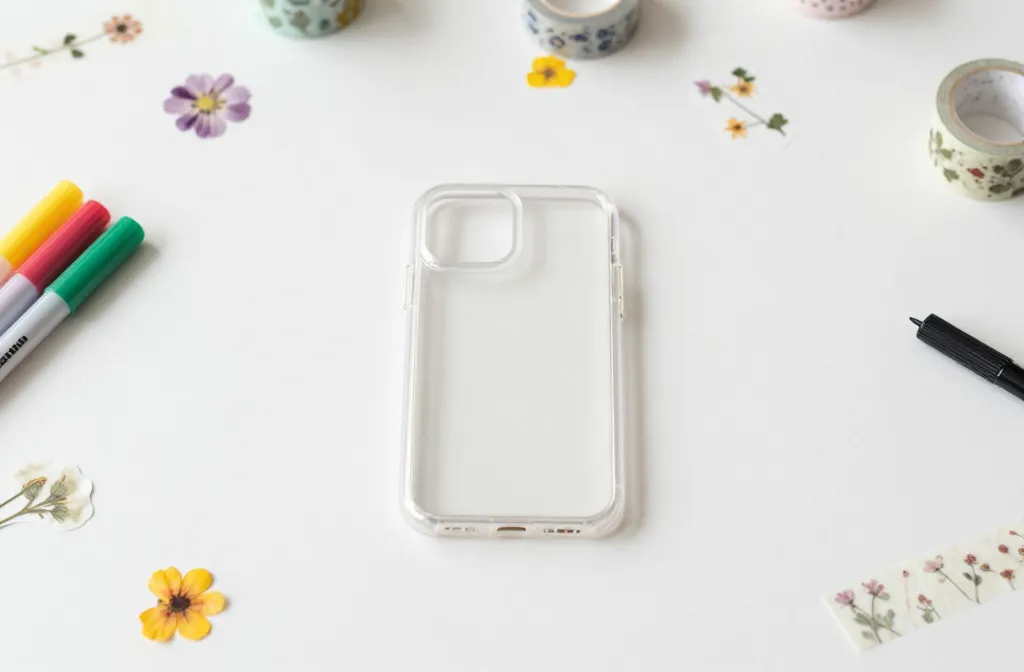
1. Design Your Own Phone Case Station

Clear phone cases cost a few dollars each, and decorating them takes the pressure off mingling for guests who just arrived. Set up a table with clear cases in a few common phone sizes, permanent markers, small pressed flowers, tiny beads, and thin strips of washi tape.
Why it works:
- Every guest leaves with something they’ll actually use instead of a favor that sits in a drawer
- The craft keeps hands busy during that awkward first half hour when not everyone has shown up yet
- Mistakes don’t matter because each design is supposed to be personal and different
Have a hair dryer nearby to speed up drying time on marker designs before guests slide their phones in.
2. Roll Paper Beads for Friendship Bracelets

The make: Cut magazine pages or scrapbook paper into long triangles, roll each one tightly around a toothpick starting at the wide end, seal the tip with a dot of glue, and slide it off when dry.
Teens can make twenty beads in about thirty minutes, then string them with elastic cord into bracelets they swap before leaving. The rhythm of rolling and chatting works better than crafts that need total focus.
Glossy magazine pages make beads that look almost store bought once they’re rolled tight. Skip construction paper because it tears when you try to roll it thin.
3. Tie Dye Pillowcases as a Group Project

White pillowcases are cheaper than T-shirts and easier to tie because the fabric lies flat. Each guest picks two or three colors from squeeze bottles, twists rubber bands around sections of fabric, and applies dye in a pattern they choose.
- Cover the work surface with a plastic tablecloth taped down at the corners
- Set out one pair of disposable gloves per guest so hands stay clean
- Use fiber reactive dye that sets at room temperature and won’t bleed later
- Bag each pillowcase in a labeled zip top bag so everyone takes home the right one
Mess control: Do this outside or in a garage where drips and splashes don’t matter.
4. Build a Polaroid Style Photo Booth Backdrop
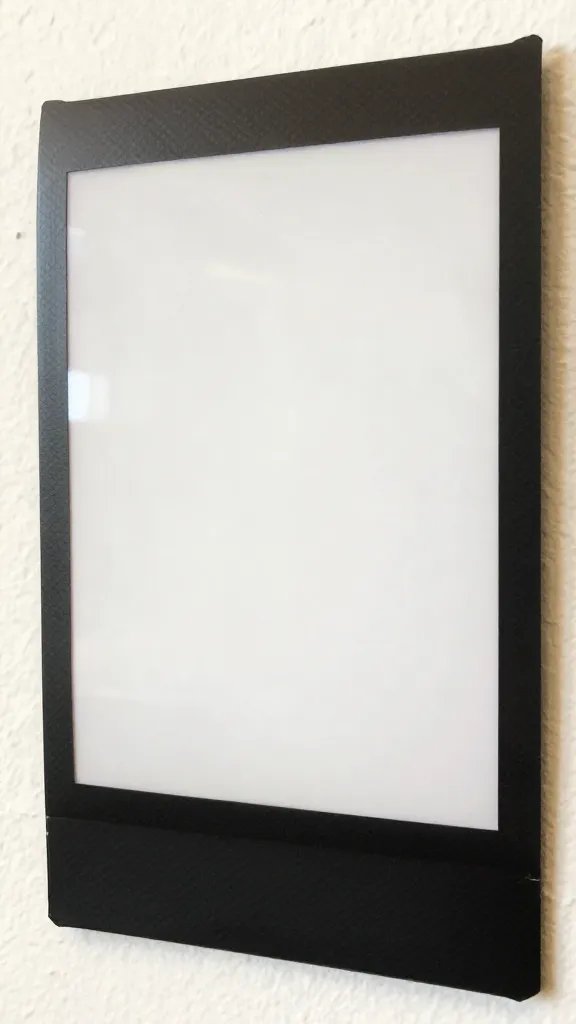
Best for: Parties where you want one big decoration that also gives guests something to do between other activities.
Tape a large sheet of kraft paper or white butcher paper to the wall, paint or tape a wide border around the edges to mimic a Polaroid frame, and write “Happy Birthday” or the age in the bottom margin. Guests stand behind it and take photos that look like they’re inside the picture.
Hang string lights around the frame or add paper flowers in the top corners if the plain version feels too simple. The backdrop also hides a boring wall and works in a small room where you can’t fit a full photo station with props.
5. Paint Mini Canvas Tote Bags
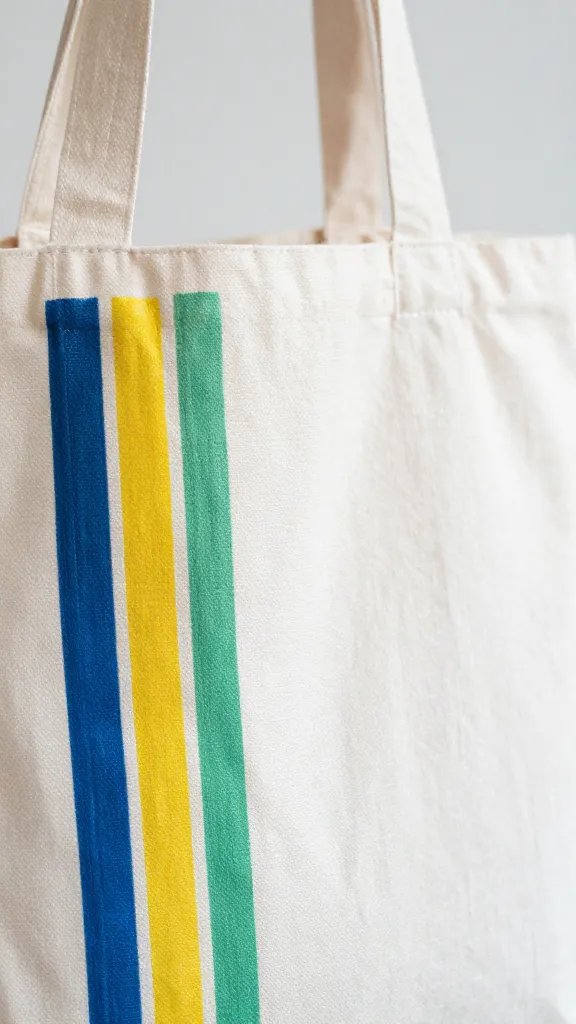
Plain canvas totes come in packs, and fabric paint in squeeze bottles gives clean lines without needing brushes. Lay out stencils, painter’s tape for stripes, and a few paint colors that match the party theme.
Time needed: About forty minutes for decorating, then an hour of drying time before guests can carry them home.
Make it easier: Skip paint and use fabric markers instead so bags dry in fifteen minutes and there’s no brush cleanup.
Stuff each bag with a sheet of cardboard while guests paint so the design doesn’t bleed through to the back. This craft works well early in the party so bags have time to dry before everyone leaves.
6. Stamp Custom Wrapping Paper Sheets

Teens can use this paper to wrap gifts for friends later, which makes it feel more practical than a random craft. Roll out brown kraft paper or white butcher paper in long sheets, then set out foam stamps, ink pads, and potato halves carved into simple shapes like stars or hearts.
Guests stamp their own designs across a few feet of paper, let it dry for twenty minutes, then roll it up and tie it with ribbon. Carved potatoes make bigger, bolder prints than store stamps and cost almost nothing.
One roll of kraft paper gives enough for every guest to take home a few feet. The stamping goes faster than painting and looks more uniform even when someone’s pattern gets a little crooked.
7. Decorate Plain Notebooks with Collage Covers
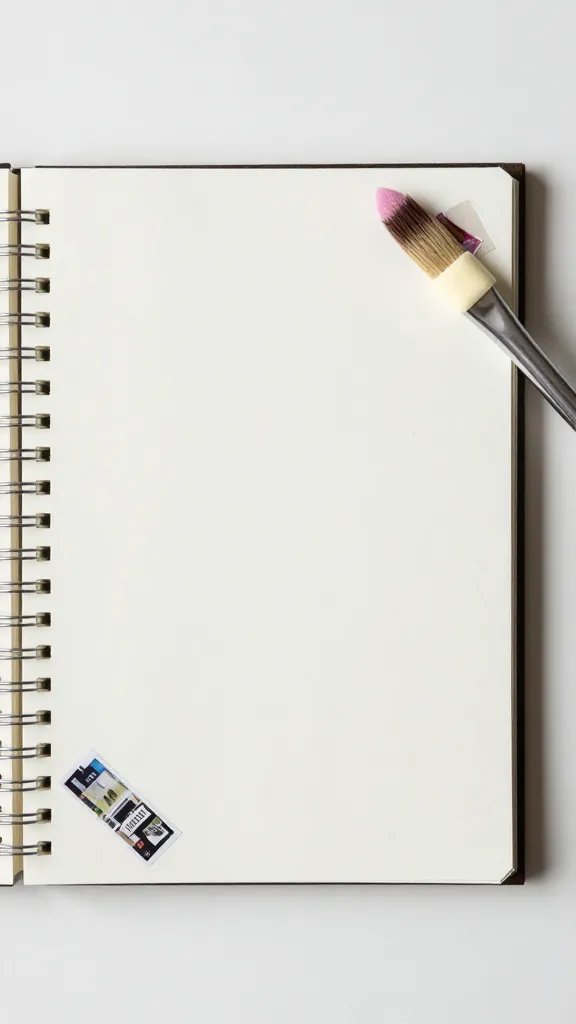
Supplies: Composition books with plain covers, mod podge or white glue thinned with a little water, foam brushes, and a pile of materials to glue down.
Set out magazine clippings, scrapbook paper scraps, old maps, sheet music, or printed images guests bring from home. Each person arranges pieces on the front cover, brushes glue over the whole thing, and seals it with another layer once dry.
Reuse it later: These notebooks work for school, journaling, or sketching, so they don’t end up in the back of a closet like most party crafts.
8. Make Layered Bath Salts in Small Jars
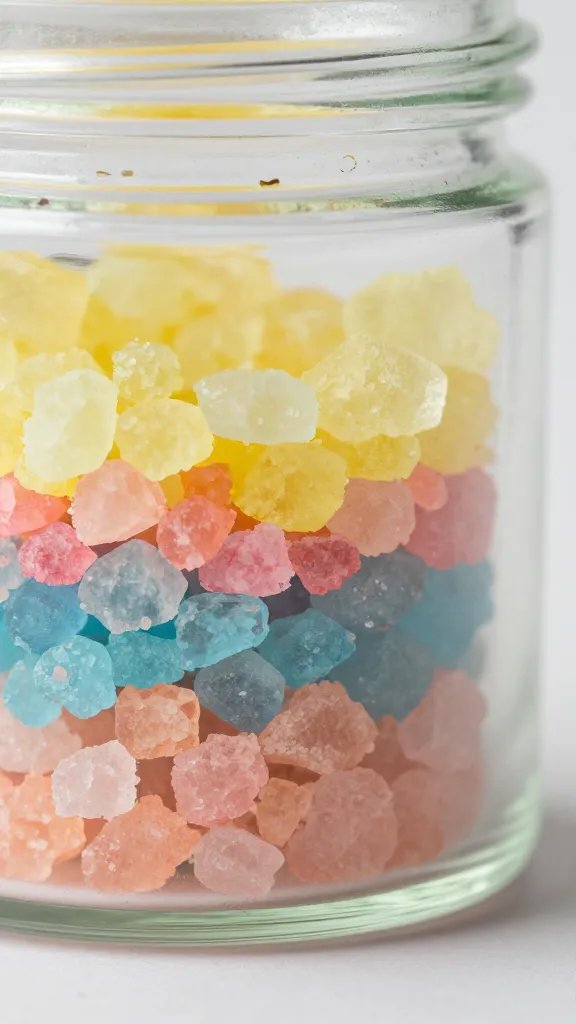
This one looks fancy but takes about ten minutes per jar. Guests spoon Epsom salt into small glass jars in layers, adding a few drops of soap colorant or food coloring to each layer and stirring it in a separate bowl before pouring.
Why it works:
- The finished jars look like something from a boutique instead of a birthday party craft
- Layering salt is calming and doesn’t require any skill or artistic ability
- You can set up the whole station in fifteen minutes and cleanup is just wiping down spoons
Add a few drops of essential oil to each jar before sealing if you want scented salts. Skip the oil if any guests have sensitive skin.
9. String a Name Banner with Embroidery Hoops
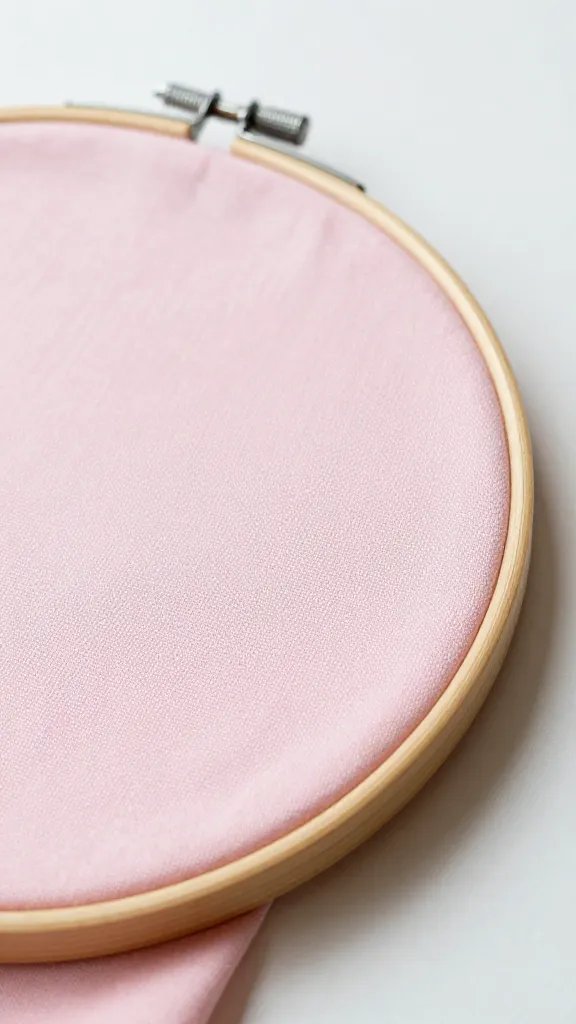
Wooden embroidery hoops cost less than a dollar each and make a banner that doesn’t look like every other one. Stretch fabric, felt, or even scrapbook paper inside each hoop, paint or glue one letter onto each circle, and hang them on a length of ribbon.
Guests can work together to spell out the birthday girl’s name, a short phrase like “Cheers to Fifteen,” or just fun words that match the party theme. The hoops hang with space between each one, so the banner has dimension instead of lying flat like paper garlands.
Theme swap: Use floral fabric for a garden party or metallic paper for a glam theme.
10. Press Fresh Flowers Into Bookmarks

Best for: Spring or summer parties when flowers are easy to find, or anytime you can grab a cheap bouquet from the grocery store.
Cut cardstock into bookmark shapes, let guests arrange small flat flowers and leaves on each one, cover with clear contact paper or laminating sheets, and trim the edges. The flowers stay visible and protected between the layers.
Press flowers a few days ahead if you want them flatter and less bulky. Fresh flowers work too but make thicker bookmarks that don’t slide into books as easily. Pansies, small daisies, and fern leaves press the best because they’re naturally thin.
11. Create Marbled Paper with Shaving Cream

Spray a thick layer of plain shaving cream into a shallow pan, smooth the top, drop food coloring or liquid watercolor across the surface, swirl it with a toothpick, then press cardstock into the foam and scrape off the excess with a ruler.
- Base: white cardstock cut into squares or postcard sizes
- Main supply: cheap shaving cream, not gel
- Color: liquid food coloring or watercolor in two or three shades
- Finishing touch: a ruler or old credit card to scrape away foam and reveal the pattern
Party favor idea: Turn marbled sheets into greeting cards, bookmarks, or small art prints guests can frame later.
12. Braid Embroidery Floss Keychains
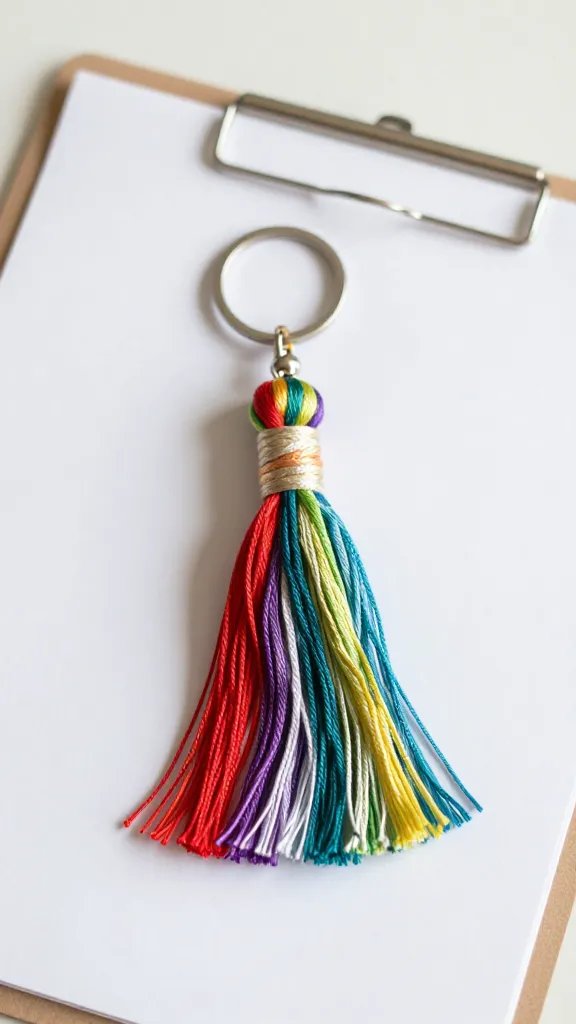
Embroidery floss comes in hundreds of colors and costs almost nothing. Each guest picks three or four colors, cuts strands about as long as their arm, knots them together at the top, and braids or twists them into a keychain.
Skill level: Anyone who can braid hair can make these, and even simple three strand braids look good when the colors are bright.
Clip the knotted end to a clipboard or tape it to the table edge so the braid stays tight while guests work. Add a keyring or lobster clasp at the end so the keychain clips onto backpacks or purses. Teens keep making these long after the party ends because the supplies are cheap and portable.
13. Decorate Wooden Letter Initials
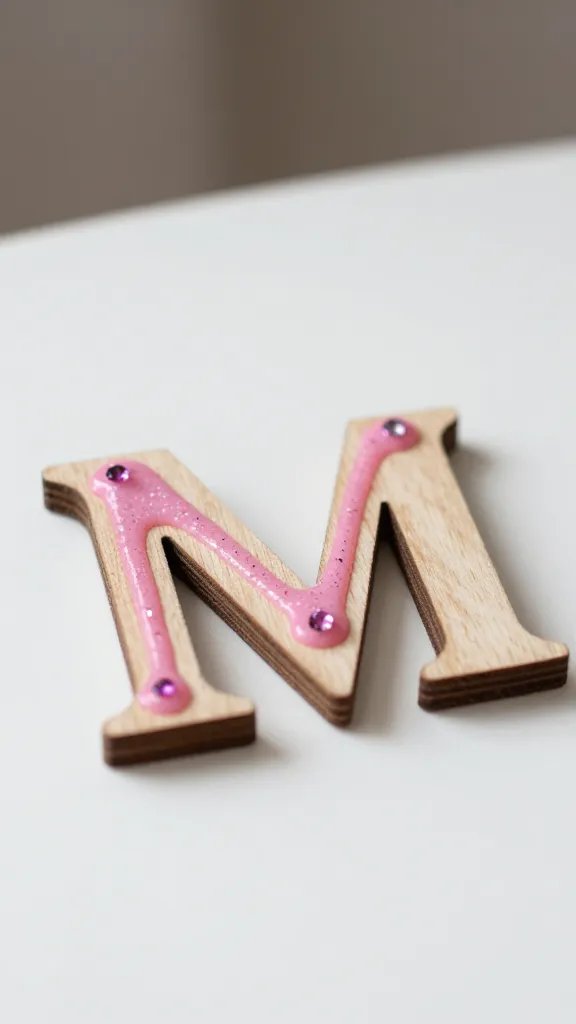
Flat wooden letters in each guest’s initial make a craft that feels personal without needing name tags or assigned seats. Set out letters in a few common initials, plus acrylic paint, glitter glue, small gems, and mod podge for sealing.
Each person paints their letter, adds details while the base coat dries, and takes it home to hang on a bedroom wall or prop on a shelf. Wooden letters are light enough to stick up with adhesive strips, so guests don’t need to worry about nails or damage.
Budget swap: Cut letters from thick cardboard if wooden ones are hard to find or too expensive for a big group.
14. Frost Sugar Cookies as Edible Art

Bake sugar cookies the day before in simple shapes like circles or squares, then set up a decorating station with royal icing in squeeze bottles, sprinkles, edible glitter, and small candies. Teens treat cookies like mini canvases, piping designs that range from abstract patterns to detailed scenes.
Royal icing dries hard and shiny, so finished cookies can stack in a box without smudging. The decorating takes longer than most crafts, usually about an hour, but it doubles as dessert and keeps everyone at the table talking.
Make it ahead: Bake and cool cookies completely the night before so you’re not rushing on party day.
These crafts balance the kinds of activities teens actually enjoy with setups that don’t require a degree in art or a week of prep. Pick two or three that fit your space and timeline, then let the group move between stations instead of forcing everyone through one long project. Most of these ideas leave you with decorations, favors, or keepsakes instead of a bag of supplies you’ll never use again.
Save this for the next birthday that sneaks up on you.