
15 Cardboard Wall Art Ideas for a Dorm Room


Blank walls make even the best dorm room feel like a waiting room. You want something interesting overhead when you look up from your desk, but damage deposits and tight budgets rule out most poster frames and wall hangings.
Cardboard is free from every move in box and delivery, cuts with scissors you already own, and peels off the wall without taking paint with it. These fifteen cardboard wall art ideas turn recycling into something you actually want to look at, and most take under an hour to finish.
Grab a few boxes and let’s make your walls feel like yours.
1. Cut Out Oversized Geometric Shapes and Paint Them

Large triangles, circles, and hexagons in bold colors give you that gallery wall effect without the cost of real art. Cardboard from a flat moving box gives you enough surface to cut shapes as wide as your arm span.
Paint them in two or three colors that match your bedding, then mount them with poster putty. The shapes overlap slightly so the arrangement feels planned, not random.
A craft knife cuts cleaner edges than scissors, but an adult should handle that part if you share the room with someone who has never used one. Acrylic paint dries fast and covers the brown cardboard in two coats.
2. Layer Cardboard Strips Into a Woven Wall Hanging
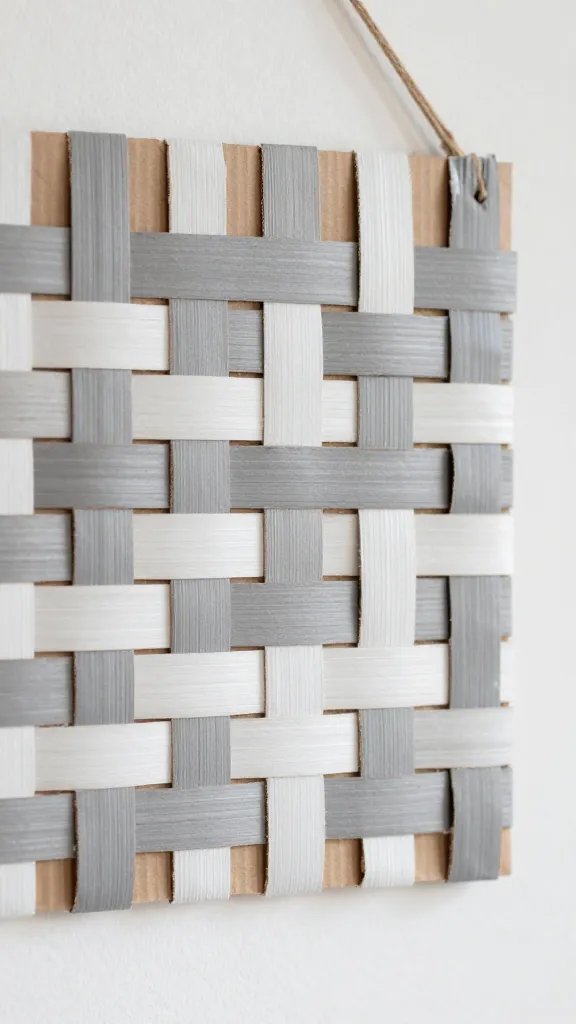
The make: Cut cardboard into long strips about an inch wide, weave them over and under like a paper placemat from grade school, then glue the ends down on a backing piece.
Spray paint the strips before you weave, or leave some natural brown and paint others white or gray for a two tone look. The texture catches light better than flat art, so it reads as intentional design instead of something cobbled together from trash.
Hang it with a small nail through the top backing, or loop twine through two holes punched near the upper edge. It weighs almost nothing, so even weak poster tape holds it up.
3. Build a Faux Shiplap Accent Wall Panel
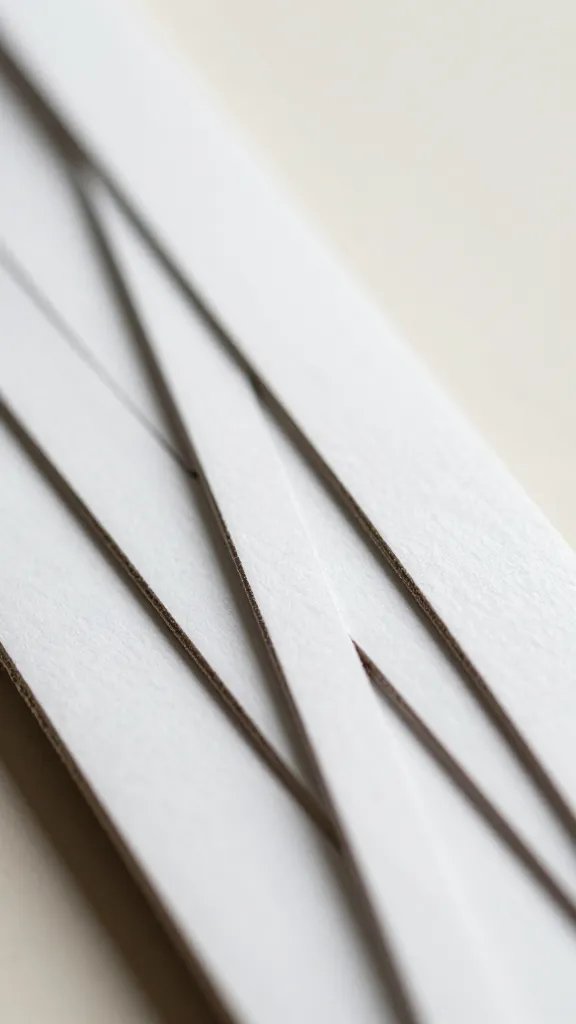
Real shiplap violates every dorm lease ever written. Cardboard planks taped side by side give you the same lined texture without the nails or the security deposit loss.
- Base: a large sheet of cardboard from an appliance box, cut to fit the space behind your bed
- Main supply: long narrow strips cut from thinner boxes, all the same width
- Color: white or light gray spray paint applied before assembly
- Finishing touch: small gaps between each strip so the lines show clearly
Time needed: About ninety minutes including drying time if you paint outside and let it sit while you grab lunch.
4. Fold Cardboard Into 3D Triangle Clusters
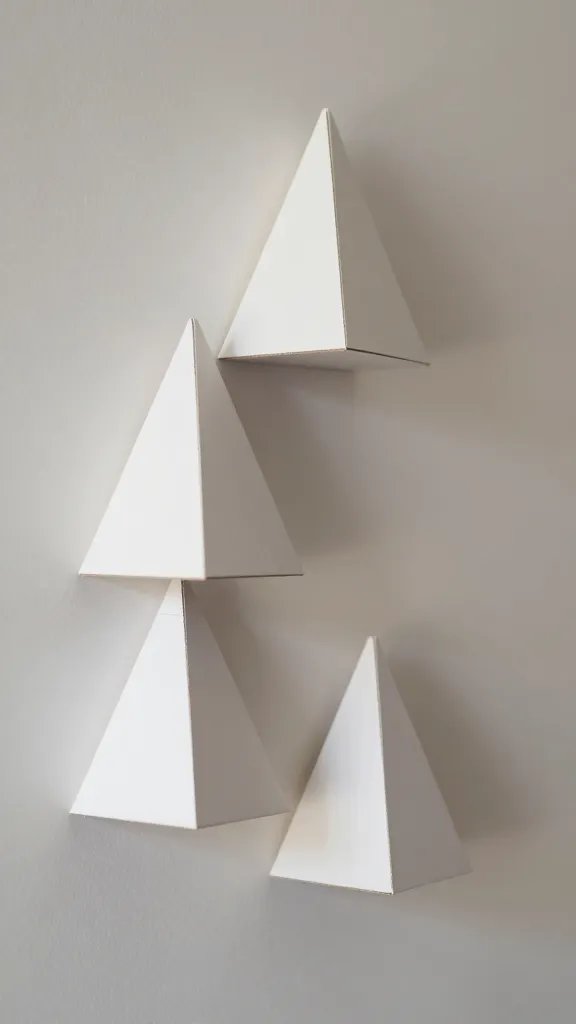
Why it works:
- The shadow and depth make it look more complicated than it is
- Folding takes no special tools, just a ruler to score the lines first
- You can rearrange the triangles into different patterns until one feels right
Cut equilateral triangles from thin cardboard, score a line about half an inch from each edge, fold those tabs back, then glue the tabs together to form a raised pyramid. Make a dozen or so, paint them, and mount them in a cluster with the points facing out.
They catch light from your desk lamp and create little pockets of shadow that shift as the day moves.
5. Trace and Cut a Giant Monstera Leaf Silhouette
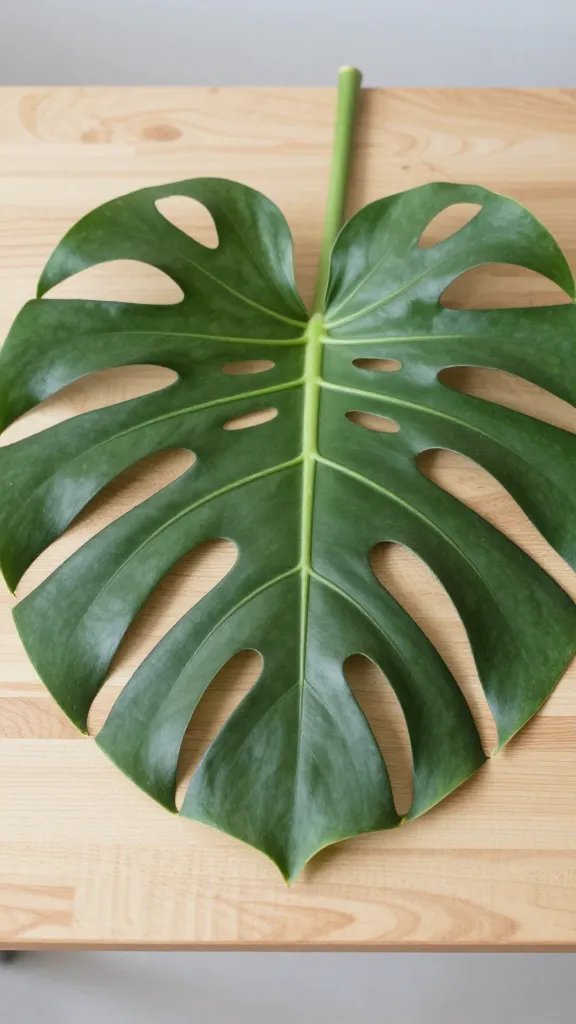
Best for: a room that already has a lot going on and needs one bold shape instead of a busy gallery wall.
Find a monstera leaf image online, sketch the outline onto a big piece of cardboard, then cut it out with the signature holes and splits. Paint it deep green or leave it natural and coat it with a layer of mod podge so it feels more finished.
The single large piece fills space fast and looks deliberate. Hang it vertically above your desk or lay it horizontally over your bed. Two or three smaller leaves arranged like a vine work when your cardboard supply runs thin.
6. Stack Cardboard Circles Into a Layered Moon Phase Display

Cut circles in graduated sizes, paint them white or silver, then arrange them in a line to show the moon moving from crescent to full and back again. Each phase gets its own circle.
Glue note: A glue stick holds lightweight cardboard circles to the wall better than hot glue, which can peel paint when you move out.
Small space fix: A vertical line of moons works over a narrow section of wall next to a door or between two windows where a wide piece would not fit.
7. Spell Out Your Initials in Block Letters
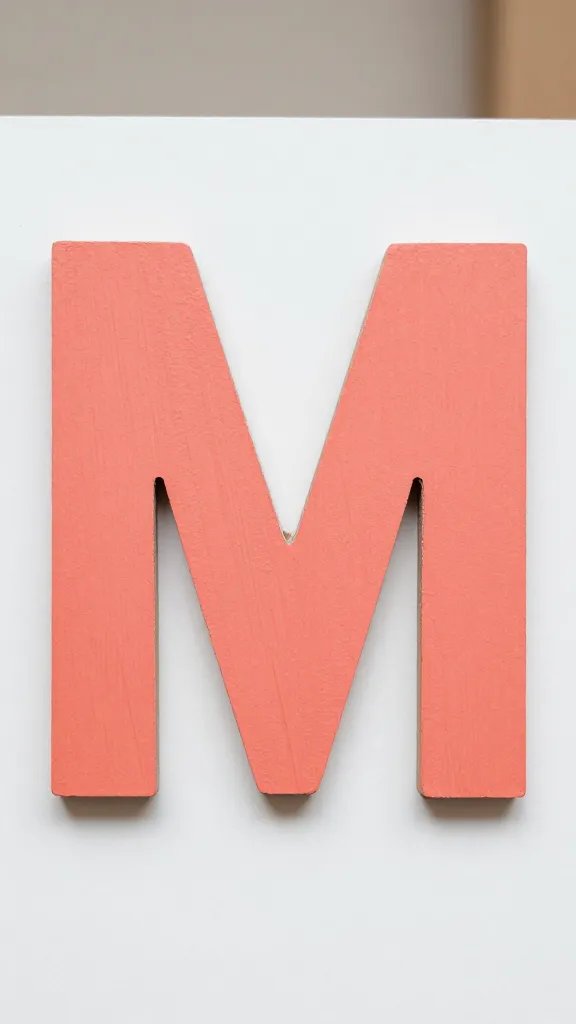
Monogram wall letters cost twenty dollars each at home stores. Cardboard letters cost nothing and look just as solid once you paint them.
Sketch large block letters onto cardboard, cut them out, paint them a color that pops against your wall, then mount them with adhesive strips. Make them big enough to read from across the room. Small letters get lost and look unfinished.
Layer two pieces of cardboard and glue them together if your letters feel flimsy. The double thickness stands up better and does not curl at the edges after a few weeks on the wall.
8. Create a Cardboard Pegboard for Small Items
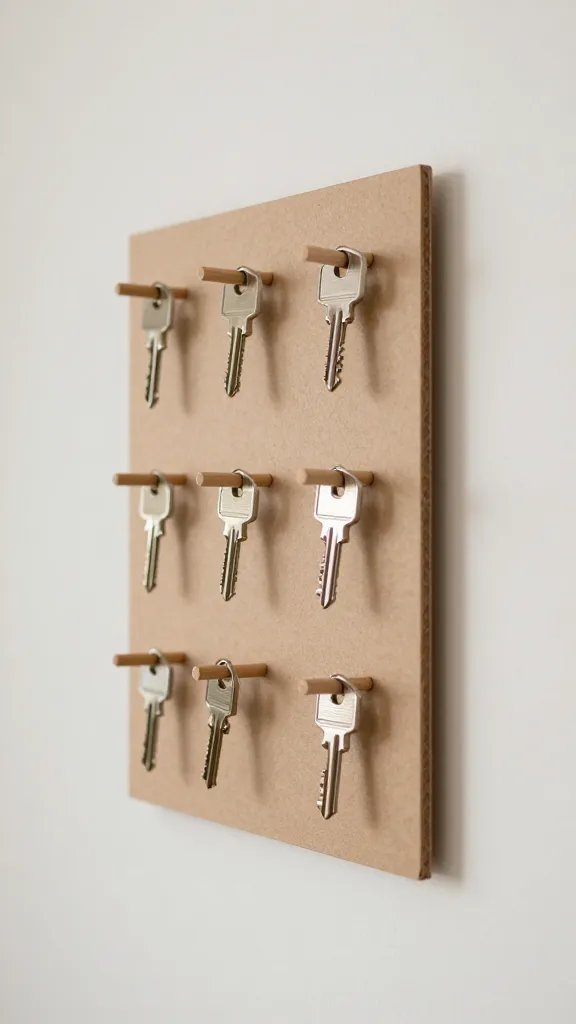
The detail to steal: Cut a large rectangle of sturdy cardboard, poke rows of small holes with a pen, then insert short dowels or pencils through the holes to hang lightweight things like keys, headphones, or string lights.
Paint the board one solid color so it reads as a functional piece, not a leftover scrap. The dowels can stay natural wood or get painted to match.
It solves the problem of losing your keys in a pile on your desk and gives you something interesting to look at that also works. Real pegboard is heavy and requires hardware to hang. Cardboard pegboard weighs nothing and mounts with poster tape.
9. Cut and Fold a Dimensional Hexagon Shelf

Trace a large hexagon onto thick cardboard, score and fold along lines that create a shallow box shape, then glue or tape the edges to hold the form. Paint it inside and out.
Why it works:
- It holds small objects like a succulent, a candle, or a few favorite books
- The angles add visual interest that a plain rectangle does not
- You can hang it flat or prop it on a thumbtack so it tilts slightly forward
Two or three hexagons in different sizes, arranged in a loose cluster, make a bigger statement than one alone.
10. Arrange Cardboard Feathers in a Radiating Fan
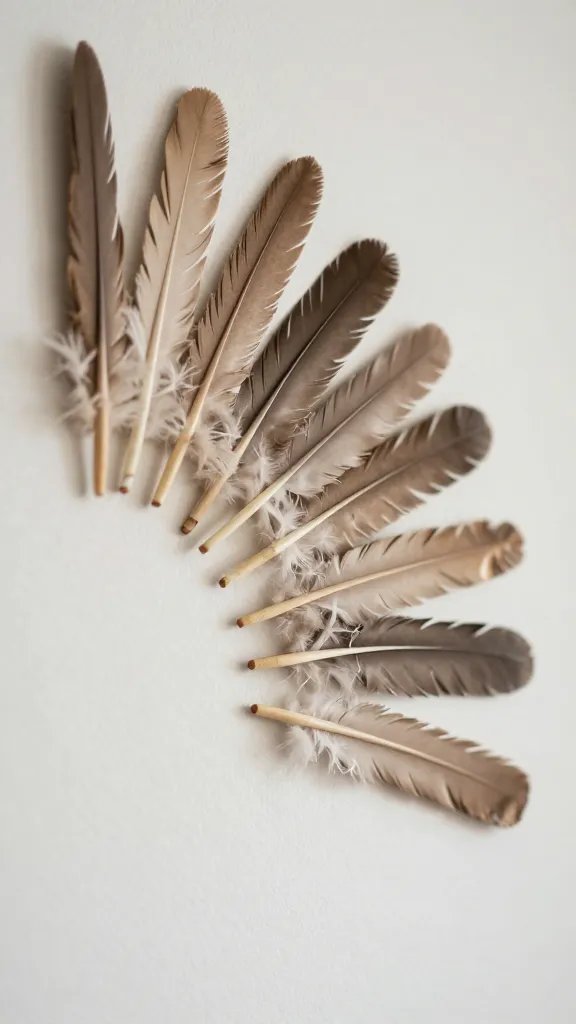
Feather shapes cut from cardboard and painted white, cream, or soft gray give you a boho look without buying a macrame wall hanging that sheds fibers all semester.
Cut each feather freehand so they vary slightly in shape and size. Score a line down the center of each one and fold it just a little to add dimension. Arrange them in a half circle radiating out from a center point, then glue or tape them to a backing piece of cardboard painted the same color as your wall.
The backing disappears and the feathers seem to float. It takes about forty minutes to cut and arrange a dozen feathers.
11. Build a Mini Cardboard Cityscape Skyline
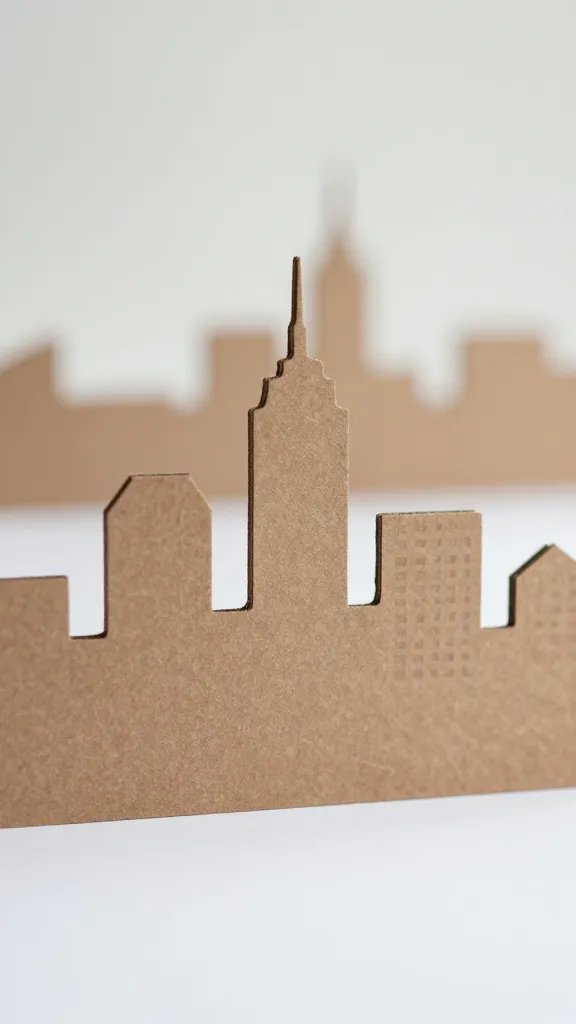
Best for: anyone who misses home or loves a particular city skyline.
Cut building shapes in different heights, add small rectangular windows with a marker or paint pen, then line them up along a base strip. Paint the whole skyline black or dark blue and mount it along the top of your wall so it sits just below the ceiling line.
It works as a border and fills that awkward upper section of wall that feels too high for posters but too blank to ignore. You can sketch your actual hometown skyline or invent a city that only exists in your room.
12. Make a Faux Brick Wall Section

Cut small rectangles from cardboard, all the same size, and arrange them in a staggered brick pattern on a large backing piece. Paint them red, terracotta, or gray, then add thin lines of white or black between each brick to mimic grout.
Mess control: Paint the bricks before you glue them down so you do not have to tape around each edge or worry about drips running between the cracks.
Scale note: A section about two feet square gives you enough brick texture to feel intentional without overwhelming a small dorm room.
13. Cut Out a Large Cactus or Succulent Shape

A tall saguaro cactus or a chunky succulent cut from cardboard and painted green brings in a plant vibe without the risk of forgetting to water something living. Dorms get dark and most real plants struggle.
Add small details like spines with a fine marker or paint lighter green highlights along the edges to give it dimension. Mount it low on the wall so the top reaches about eye level when you are sitting at your desk.
It feels playful without being childish, and it fills vertical space better than a square piece of art. Two smaller cacti grouped together work when you have a wider wall section to cover.
14. Form a Sunburst Mirror Frame

Cut long triangular rays from cardboard and arrange them around a small cheap mirror in a radiating pattern. Glue the rays to a cardboard backing, then attach the mirror in the center with strong adhesive.
Budget swap: Skip the mirror and paint a metallic gold or silver circle in the center instead for a purely decorative sunburst piece.
Safety note: Use a mirror with a plastic backing or frame, not loose glass, so it does not shatter if the cardboard mount fails.
15. Design a Cardboard Marquee Letter With Lights

Cut a large letter from thick cardboard, poke small holes around the edges, then push battery powered fairy lights through the holes from the back so the bulbs poke out the front like marquee bulbs.
Paint the letter before you add the lights. The glow shows up better against a dark color like navy or black. The lights stay on for hours and turn off with a small switch on the battery pack, so you do not waste power.
It gives you a night light that also works as wall art, and the letter can be your initial or the first letter of your school, your major, or anything else that feels like you.
Cardboard turns into something worth keeping when you treat it like a real material instead of trash waiting to happen. These ideas prove you do not need a big budget or a full weekend to make your dorm walls feel finished. Pick one, grab a box, and give yourself something better to look at than blank paint. Save this for the next time you move into a space that needs personality fast.