
Common Cardboard Crafting Mistakes That Ruin Your Project

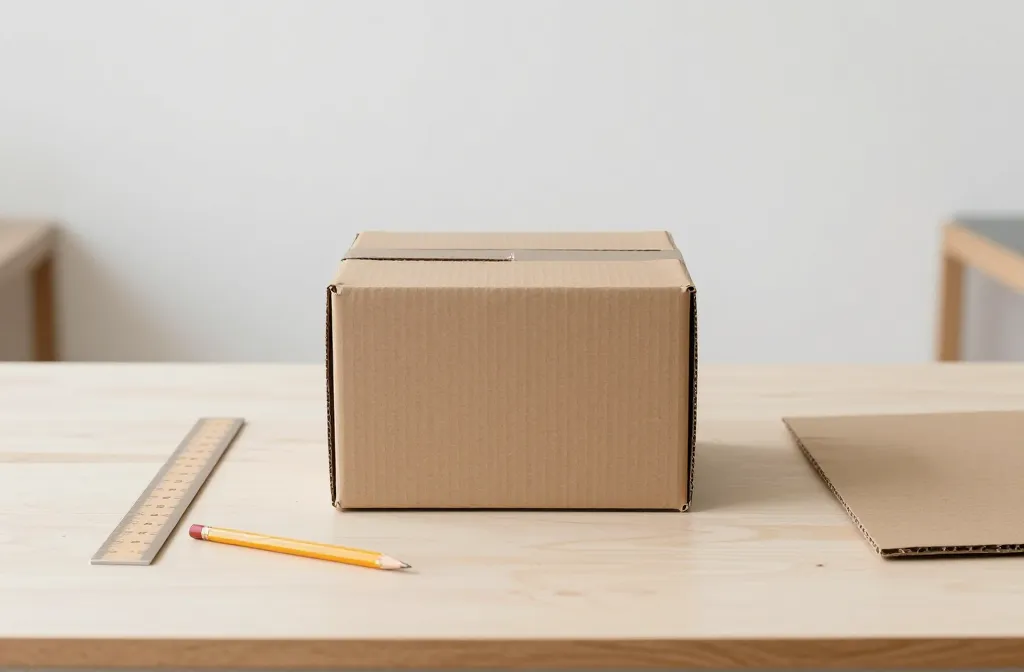
An ambitious cardboard project can be incredibly rewarding—until tiny mistakes derail your progress. Let’s cut to the chase and talk through the rookie errors that sabotage everything from stability to finish. FYI, fixing these now saves you hours later.
Poor Planning Kills the Crafting Vibe
When you dive in without a plan, you end up with a bunch of excellent looking scraps and a flimsy final piece. Do you really need that elaborate box you can’t open, or should you aim for something functional first? Start with a quick sketch, measure twice, cut once, and keep a scrap bin handy. Your future self will thank you.
Sketch Then Slice
– Draw a simple blueprint before you touch the box cutter.
– Mark fold lines clearly with a pencil or marker.
– Include a rough assembly order to avoid backtracking.
Keep a Realistic Vision
– Set a scope for your project (simple diorama, storage bin, or display piece).
– Don’t chase every shiny idea in one go; stack learning experiences.
Corners Cut Too Often: Incorrect Scoring and Folds

Cardboard loves clean, crisp folds. If you skip scoring, your pieces crack, warp, or refuse to align. The fix is simple but effective: score along fold lines with a blunt tool, then fold slowly and evenly.
How to Score Like a Pro
– Use a bone folder, dull knife, or the back of a craft knife blade.
– Score just the top surface to avoid crushing the other side.
– Fold along the line in a controlled, deliberate motion.
Common Folding Pitfalls
– Too-fast folds lead to creases in the wrong spots.
– Uneven pressure creates warped edges.
– Neglecting to pre-mill flaps makes assembly guesswork.
Glue Drama: The Adhesive That Ruins Everything
Glue is the quiet killer of cardboard projects. Too much glue makes soggy spots, too little leaves joints weak. Choose the right adhesive and apply with intention.
Stick To The Right Glue
– PVA white glue for general projects; it dries clear and sands nicely.
– Hot glue for quick holds and chunky joins (but avoid heat damage on thin cardboard).
– Cardboard-specific adhesives or tape for permanent builds.
Glue Application Hacks
– Use a thin, even bead and press firmly for 10–20 seconds.
– Wipe excess glue to prevent blobs that show on the surface.
– Clamp or weight down pieces until dry to prevent warping.
Weak Joints? Pick the Right Structure

A project can look amazing but fall apart at the first gentle nudge if your joints aren’t solid. Consider how each piece connects and whether the design relies on gravity, interlocking tabs, or internal supports.
Reinforcement Essentials
– Add internal supports like ribs or corner braces for larger structures.
– Use interlocking tabs or slots to distribute stress.
– Consider external shells or frames for extra stiffness.
Finishing Touches That Make or Break The Look
A cardboard piece can radiate charm or look like a DIY disaster depending on finishing. Skimp on sealing, painting, or decorating and you’ll end up with chips, moisture sags, or uneven color.
Prep Before Paint
– Clean dust and oils off the surface; light sanding helps paint adhere.
– Prime thin cardboard to prevent warping and absorbency variability.
– Test paints on a scrap piece to gauge coverage and drying time.
Paint, Seal, Repeat
– Use light coats rather than thick layers to avoid drips.
– Seal with a clear matte spray or varnish for durability.
– Add decorative details last to reduce handling marks.
Scale and Proportion: The Visual Trap
Proportions matter. A tiny base with a towering top reads as unbalanced, even if the build is sturdy. Think about weight distribution, base area, and how the piece will be used or displayed.
Check the Balance
– Compare center of gravity with predicted use.
– Broaden the base for tall structures.
– If it’s a moving piece, ensure wheels or sliders can handle the load.
FAQ
Why does my cardboard warp after painting?
Warp typically comes from moisture and uneven drying. Use thin coats, let each layer dry completely, and consider sealing with a moisture-barrier spray. If you’re in a humid space, use a dehumidifier or a fan to speed even drying.
Is there a beginner-friendly alternative to hot glue?
Absolutely. PVA glue is reliable for most card stock and light builds. For quick hold without mess, double-sided tape or mounting squares work well. If you need instant grip, try a low-temp hot glue gun, but test first on a scrap to avoid scorching.
How can I prevent edges from fraying?
Keep edges crisp by scoring before folding and using a light sand or file along the crease. For a smoother finish, seal edges with a thin layer of glue or a light edge paint.
What’s the best way to teardown a failed design without wasting materials?
Repurpose the cardboard into scrap pieces or salvaged components for a project reset. Keep a small “recycle pile” handy, so you don’t stash broken bits in a corner and pretend nothing happened. FYI, learning from mistakes saves you money and time.
How do I know when a joint is strong enough?
Test by gently applying force in multiple directions. If a joint wiggles, reinforce with more adhesive, a secondary brace, or switch to interlocking tabs. If it holds steady with moderate pressure, you’re in the safe zone.
Conclusion
Cardboard crafting is as much about problem-solving as it is about creativity. When you plan, score properly, choose the right glue, and reinforce joints, your builds stay sturdy and look sharp. Don’t fear a few missteps—they’re part of the process. With a little patience and a lot of trial-and-error, you’ll turn humble cardboard into impressive, durable projects that you’re actually proud to show off. Ready to tackle your next build? Let’s go, and may your cuts be clean and your finishes flawless.