
How to Craft Safely With Hot Glue and Sharp Tools

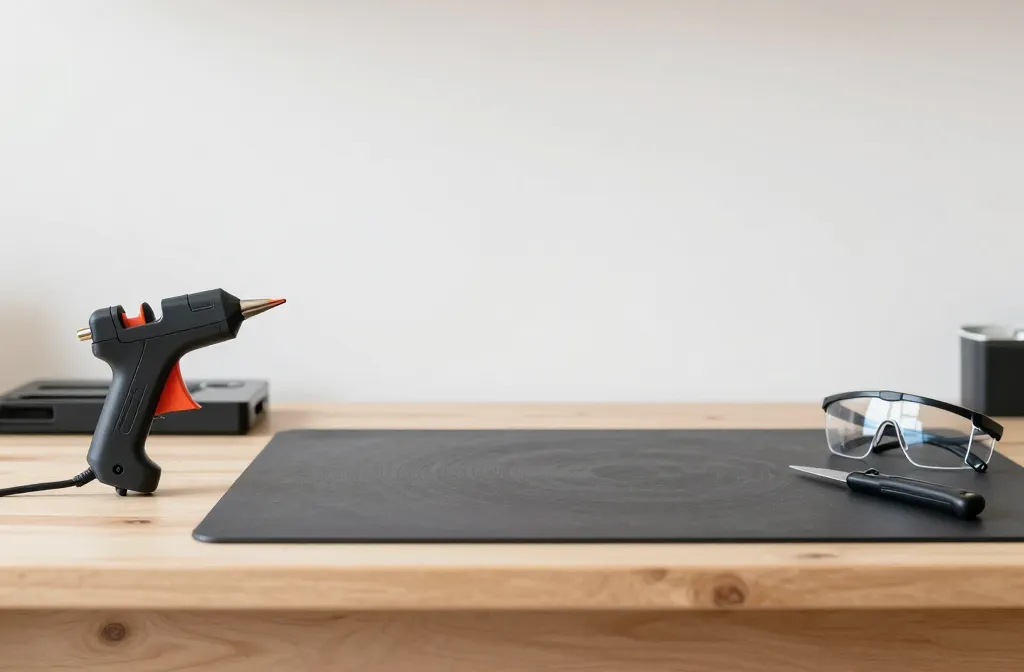
An enthusiastic crafters’ guide to mixing flames of creativity with careful safety. Let’s be real: hot glue and sharp tools can be friends, not foes—if you respect the rules. Here’s a practical, friendly handhold through the sticky and sharp moments of DIY.
Know Your Tools Inside and Out
When you pick up a glue gun or a sharp tool, you’re signing up for a tiny test of patience. Start by choosing the right tool for the job, then learn its quirks. Does your glue gun heat fast or take its sweet time? Is your craft knife’s blade sharp enough to glide, not yank? IMO, understanding their personalities saves you from many oops moments.
- Keep a dedicated glue gun for low-temp work if you’re new to this.
- Inspect blades before each project; a dull blade is a safety risk and a creator’s nightmare.
- Always have a dedicated cutting surface and a metal or heat-safe mat underneath.
Set Up a Safe Work Space
Your environment should say “pro crafts, tiny accidents not invited.” A clean desk, good light, and a spill-free zone set you up for success. FYI, a small fan can help dissipate fumes when you’re using hot glue for longer sessions.
Essentials You Shouldn’t Skip
- Eye protection—glue splatters happen, and tiny shards from cuts can fly.
- Heat-resistant gloves or thick finger protection for the inevitable burn scare.
- A clear, reachable place for tools to avoid hunting down a blade mid-glue rush.
Master the Quick-Release Technique for Glue
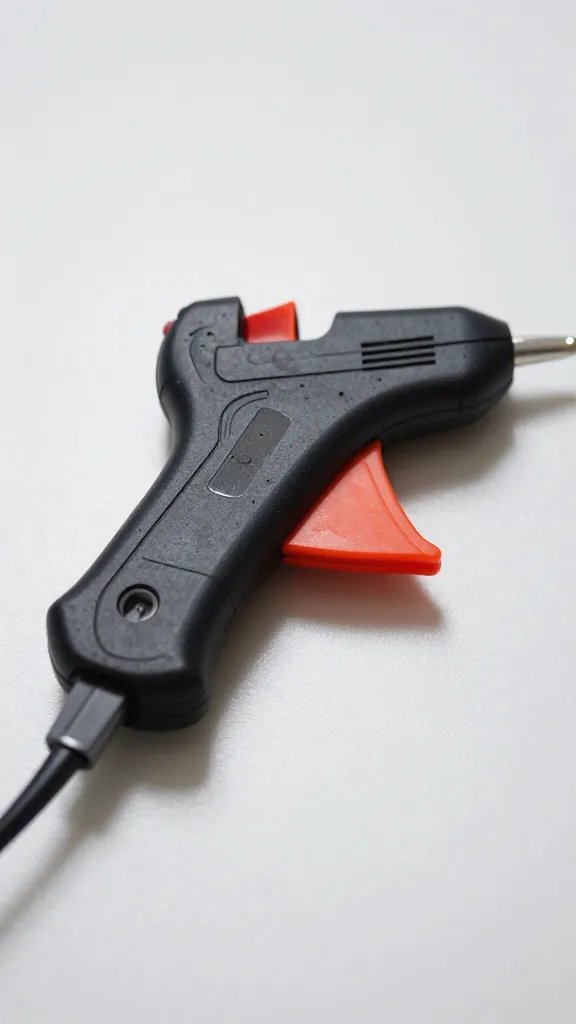
Glue is a friend with a short attention span. The secret is a quick-release, set-and-move approach. Apply small dots or a thin bead, press firmly for a moment, then let it set before you touch again. This keeps edges neat and reduces the urge to yank pieces apart.
Practical Glue Tips
- Use low-temp glue for delicate materials to prevent warping.
- Keep a damp cloth handy to wipe excess glue before it cools and hardens.
- Practice on scraps first—give your fingers a warmup, not a burn.
Smart Cutting and Shaping with Sharp Tools
Sharp tools give you precision, but they also demand respect. Always cut away from your body, use a cutting mat, and secure your material with clamps or a non-slip surface. If you’re stingy with mistakes, this section will save you a lot of heartache.
Sharp Tool Safety Basics
- Grip the tool firmly, keep your wrists neutral, and avoid awkward angles.
- Replace blades regularly; dull blades slip more easily and bite back.
- Store blades with caps on or in a dedicated holder out of reach of kids or pets.
Combination Techniques: Gluing and Shaping in Tandem
The real magic happens when you synchronize hot glue with precise cuts. For instance, use glue to set a fabric edge, then trim after it cools. The goal is clean lines with minimal rework.
A Step-by-Step Mini Process
- Prep your pieces and test-fit them first.
- Apply glue only to the needed area—no floodgates, please.
- Press and hold briefly, then move to the next part with minimal back-and-forth.
Handling Burns and Small Mishaps Like a Pro
Hot glue burns are a rite of passage, but they don’t have to ruin your project. Immediate cooling with cool (not icy) water and a quick application of aloe can calm things down. If you’re burned badly, seek medical advice promptly.
Quick Recovery Tricks
- Keep a small first-aid kit near your workspace for rapid response.
- Use ice only if the burn is minor; otherwise, stick to cooling with water.
- Don’t pull off set glue from sensitive skin; let it sit and gently remove once it’s cooled.
Finishing Like a Pro: Sanding, Smoothing, Sealing
Once the glue has cooled and the cuts are clean, you may want a smoother finish. Light sanding with a fine grit, followed by sealing with a compatible finish, can elevate your project from good to wow. FYI, test finishes on scrap pieces first to avoid surprises.
Finishing Steps That Don’t Fight You
- Sand with the grain to avoid scratches that look like mistakes.
- Wipe away dust before applying any sealant to ensure a smooth coat.
- Sealers help prevent future wear and tear on bonded joints.
FAQ
Is hot glue safe for all materials?
Hot glue works on many materials, but some fabrics, plastics, or delicate materials may respond poorly. Low-temp guns are kinder to heat-sensitive fabrics, while glossy plastics can show glue lines. Always test on a scrap piece first.
What kind of safety gear is non-negotiable?
Eye protection is a must, and heat-resistant gloves are highly recommended if you’re doing extended gluing. A sturdy cutting mat and clamps for holding pieces steady keep your fingers away from blades and hot surfaces.
How can I avoid glue strings and blobs?
Keep the nozzle clean, apply in short bursts, and press items together promptly. If strings form, ease them away with a gloved finger or a damp cloth while the glue is still pliable.
My blade won’t cut cleanly. Now what?
Dull blades tug and slip. Replace the blade or sharpen it if it’s in a tool that supports sharpening. A sharp blade prevents accidents and gives you a cleaner line.
What should I do if I burn myself?
Run cool (not icy) water over the affected area for several minutes. If a blister forms or the pain persists, seek medical advice. For minor burns, soothe with aloe and cover to protect from friction.
Conclusion
Crafting with hot glue and sharp tools can be incredibly rewarding when you respect the heat and the blade. Start with the right tools, set up a safe space, and practice precise, patient techniques. With a little humor, some smart prep, and a dash of bravery, you’ll turn sticky moments and sharp edges into polished masterpieces. So grab your mat, pick your project, and glue on—safely, of course.