
How to Fix a Craft Project That Went Wrong

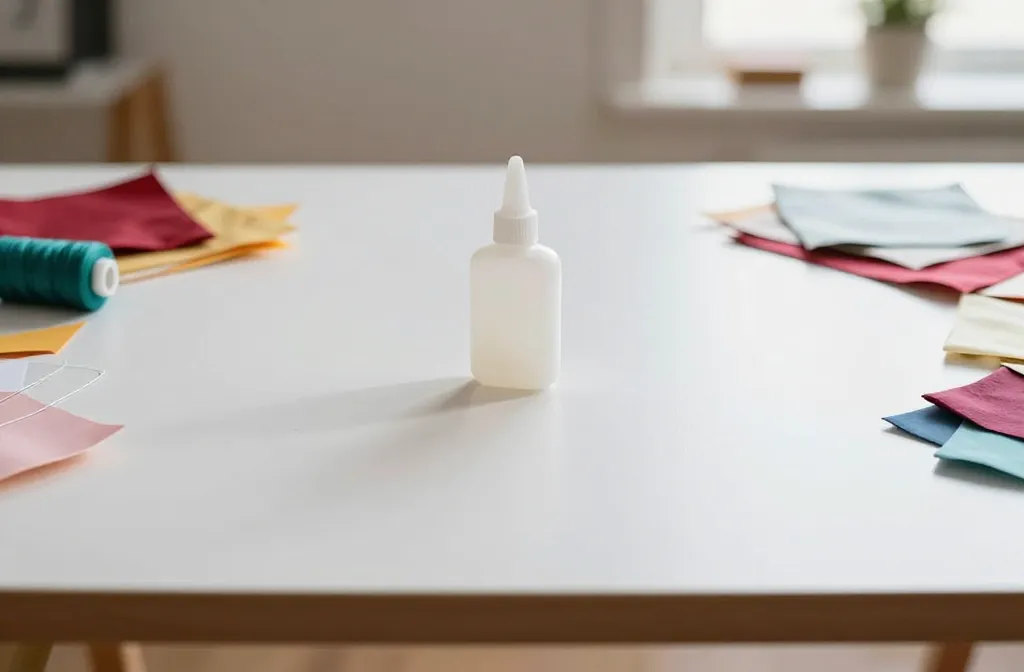
An honest, friendly guide to rescuing your beloved craft project when it hilariously misbehaves. You’ll leave with practical fixes, a few DIY hacks, and the confidence to try again without throwing your glue gun across the room.
Assess the Mess Without Panicking
Take a breath. Yes, it’s frustrating, but panic won’t repair that glitter catastrophe or crooked seam. Start by listing what went wrong in plain terms. Is the glue brittle, the stitching loose, or the paint patchy? Seeing specifics helps you pick the right fix instead of experimenting in the dark.
- Identify the failure point: Material, technique, or design?
- Check safety first: Sharp tools put away, ventilation on for fumes.
- Decide if you want to salvage or restart—both are valid choices.
Reschool Your Approach: Quick Fixes You Can Try Today

Sometimes the simplest solution works best. Here are quick, actionable fixes that don’t require a full do-over.
Rework Loose Seams
If stitches are slipping, pick a sturdy closure you trust. Remove a small section and resew with a fresh thread. Use a backstitch or a French knot for extra hold.
- Gently remove the compromised stitches.
- Reposition fabric and pin in place.
- Sew with even tension and finish with a secure knot.
Tame Uneven Edges
Frayed edges can ruin the whole look. Trim carefully and seal with a fray-stop or clear fabric glue. If you’re weaving or knotting, re-weave from the edge inward to create a clean line.
Save a Painted Project
Painted surfaces often need touch-ups. Lightly sand the bad area, wipe away dust, then apply a thin glaze or layer of paint. Seal with a clear topcoat to even the finish.
When to Pivot: Design Changes That Save Time
Not every project deserves a full rescue. Sometimes it’s smarter to pivot.
Embrace a Feature instead of a Flaw
Turn a crooked line into a deliberate design element. Distortion can become character, especially in handmade goods that celebrate imperfection.
Switch Materials Mid-Game
If the current material is stubborn, swap in a more forgiving alternative. Felt instead of fabric for quick shapes, or a different wood type if you’re painting a surface.
Comfort Tools and Workspace: Create a Repair Zone
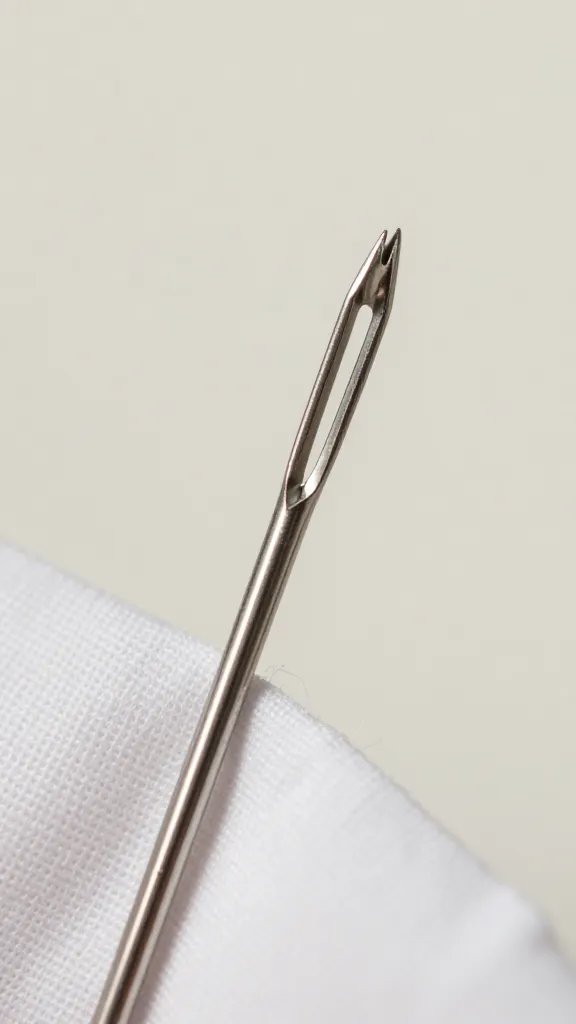
A dedicated space helps you fix things faster and with less clutter.
- Keep a small toolkit nearby: scissors, needle, thread, glue, sandpaper.
- Have a designated area for drying or curing so you don’t mess up in progress.
- Label and organize scraps—they’re often the exact salvage material you need.
Learning from a Mistake: What Went Wrong and How to Do It Right Next Time
Think of every flop as a tiny tutor.
Root Cause Analysis
Ask yourself:
– Did I rush the process?
– Was I using the right materials for this technique?
– Did I misread the instructions?
Addressing root causes helps you avoid repeating the same blunder.
Experimentation Mindset
FYI, trial and error is part of the craft journey. Schedule a small test run before you commit to the full project next time. It saves time, chalk dust, and a lot of frustration.
When to Call It a Craft, Not a Crisis
Not every project will be perfect, and that’s OK. Some projects are better as learning examples or gifts with a wink.
- Turn a misstep into a framed accidental art piece.
- Gift the salvaged item with a funny note about the “creative process.”
- Document your fixes in a scrapbook or blog for future reference.
FAQ: Quick Answers to Common Craft Rescue Dares
What if I can’t salvage the project at all?
If salvage isn’t possible, reuse parts creatively or start fresh with lessons learned. Sometimes the best move is to repurpose the materials into something entirely new.
How do I prevent future fixes from turning into bigger messes?
Work in small steps, test on scraps, and keep a dedicated repair space. Document your approach and take notes on what works best for each technique.
Is it okay to ask for help on a tricky fix?
Absolutely. A second pair of eyes or a quick video chat with a friend who crafts can reveal an easy fix you hadn’t considered.
What supplies should I always have on hand for fixes?
Keep basic tools: scissors, needles, matching thread, fabric glue, a modest selection of paints, sandpaper, and a clear topcoat or sealant. A clamp or weights for drying helps too.
How can I stay motivated after a mistake?
Rename the project as an “experiment” and celebrate small wins. Share progress with friends; the encouragement is contagious. IMO, humor keeps the mood light and progress consistent.
Conclusion: Embrace the Come-Back Moment
Crafting is a long love affair with trial and error. When a project goes awry, you don’t quit—you adapt. Salvage what you can, pivot when needed, and view the setback as a clever detour rather than a dead end. With a little patience, practical fixes, and a sense of humor, you’ll bounce back stronger—and maybe even end up with a better result than your original plan. So grab your glue gun, take a deep breath, and show that project who’s boss. You’ve got this.